frp 是一个功能强大的内网穿透工具。本文聊聊 frp 的两个应用案例,一个是如何将树莓派上的 Cloudreve 云盘放到公网,另一个是如何让公网上的服务器可访问 Google。
公网可访问的私有云盘 家中有一个闲置的树莓派,拿来安装了 Cloudreve 并外接一块 320G 移动硬盘,就搭好了一个小小的私有云盘。手机和电脑上的照片随时可以传上去,体验还不错。不过使用上有个限制,我人得在家中且连上家里的 WiFi 才能使用这个云盘。真是个小缺憾。
所以今天决定实践一下,将这个私有云盘放到公网上。(我有一台低配的云服务器,有公网IP)
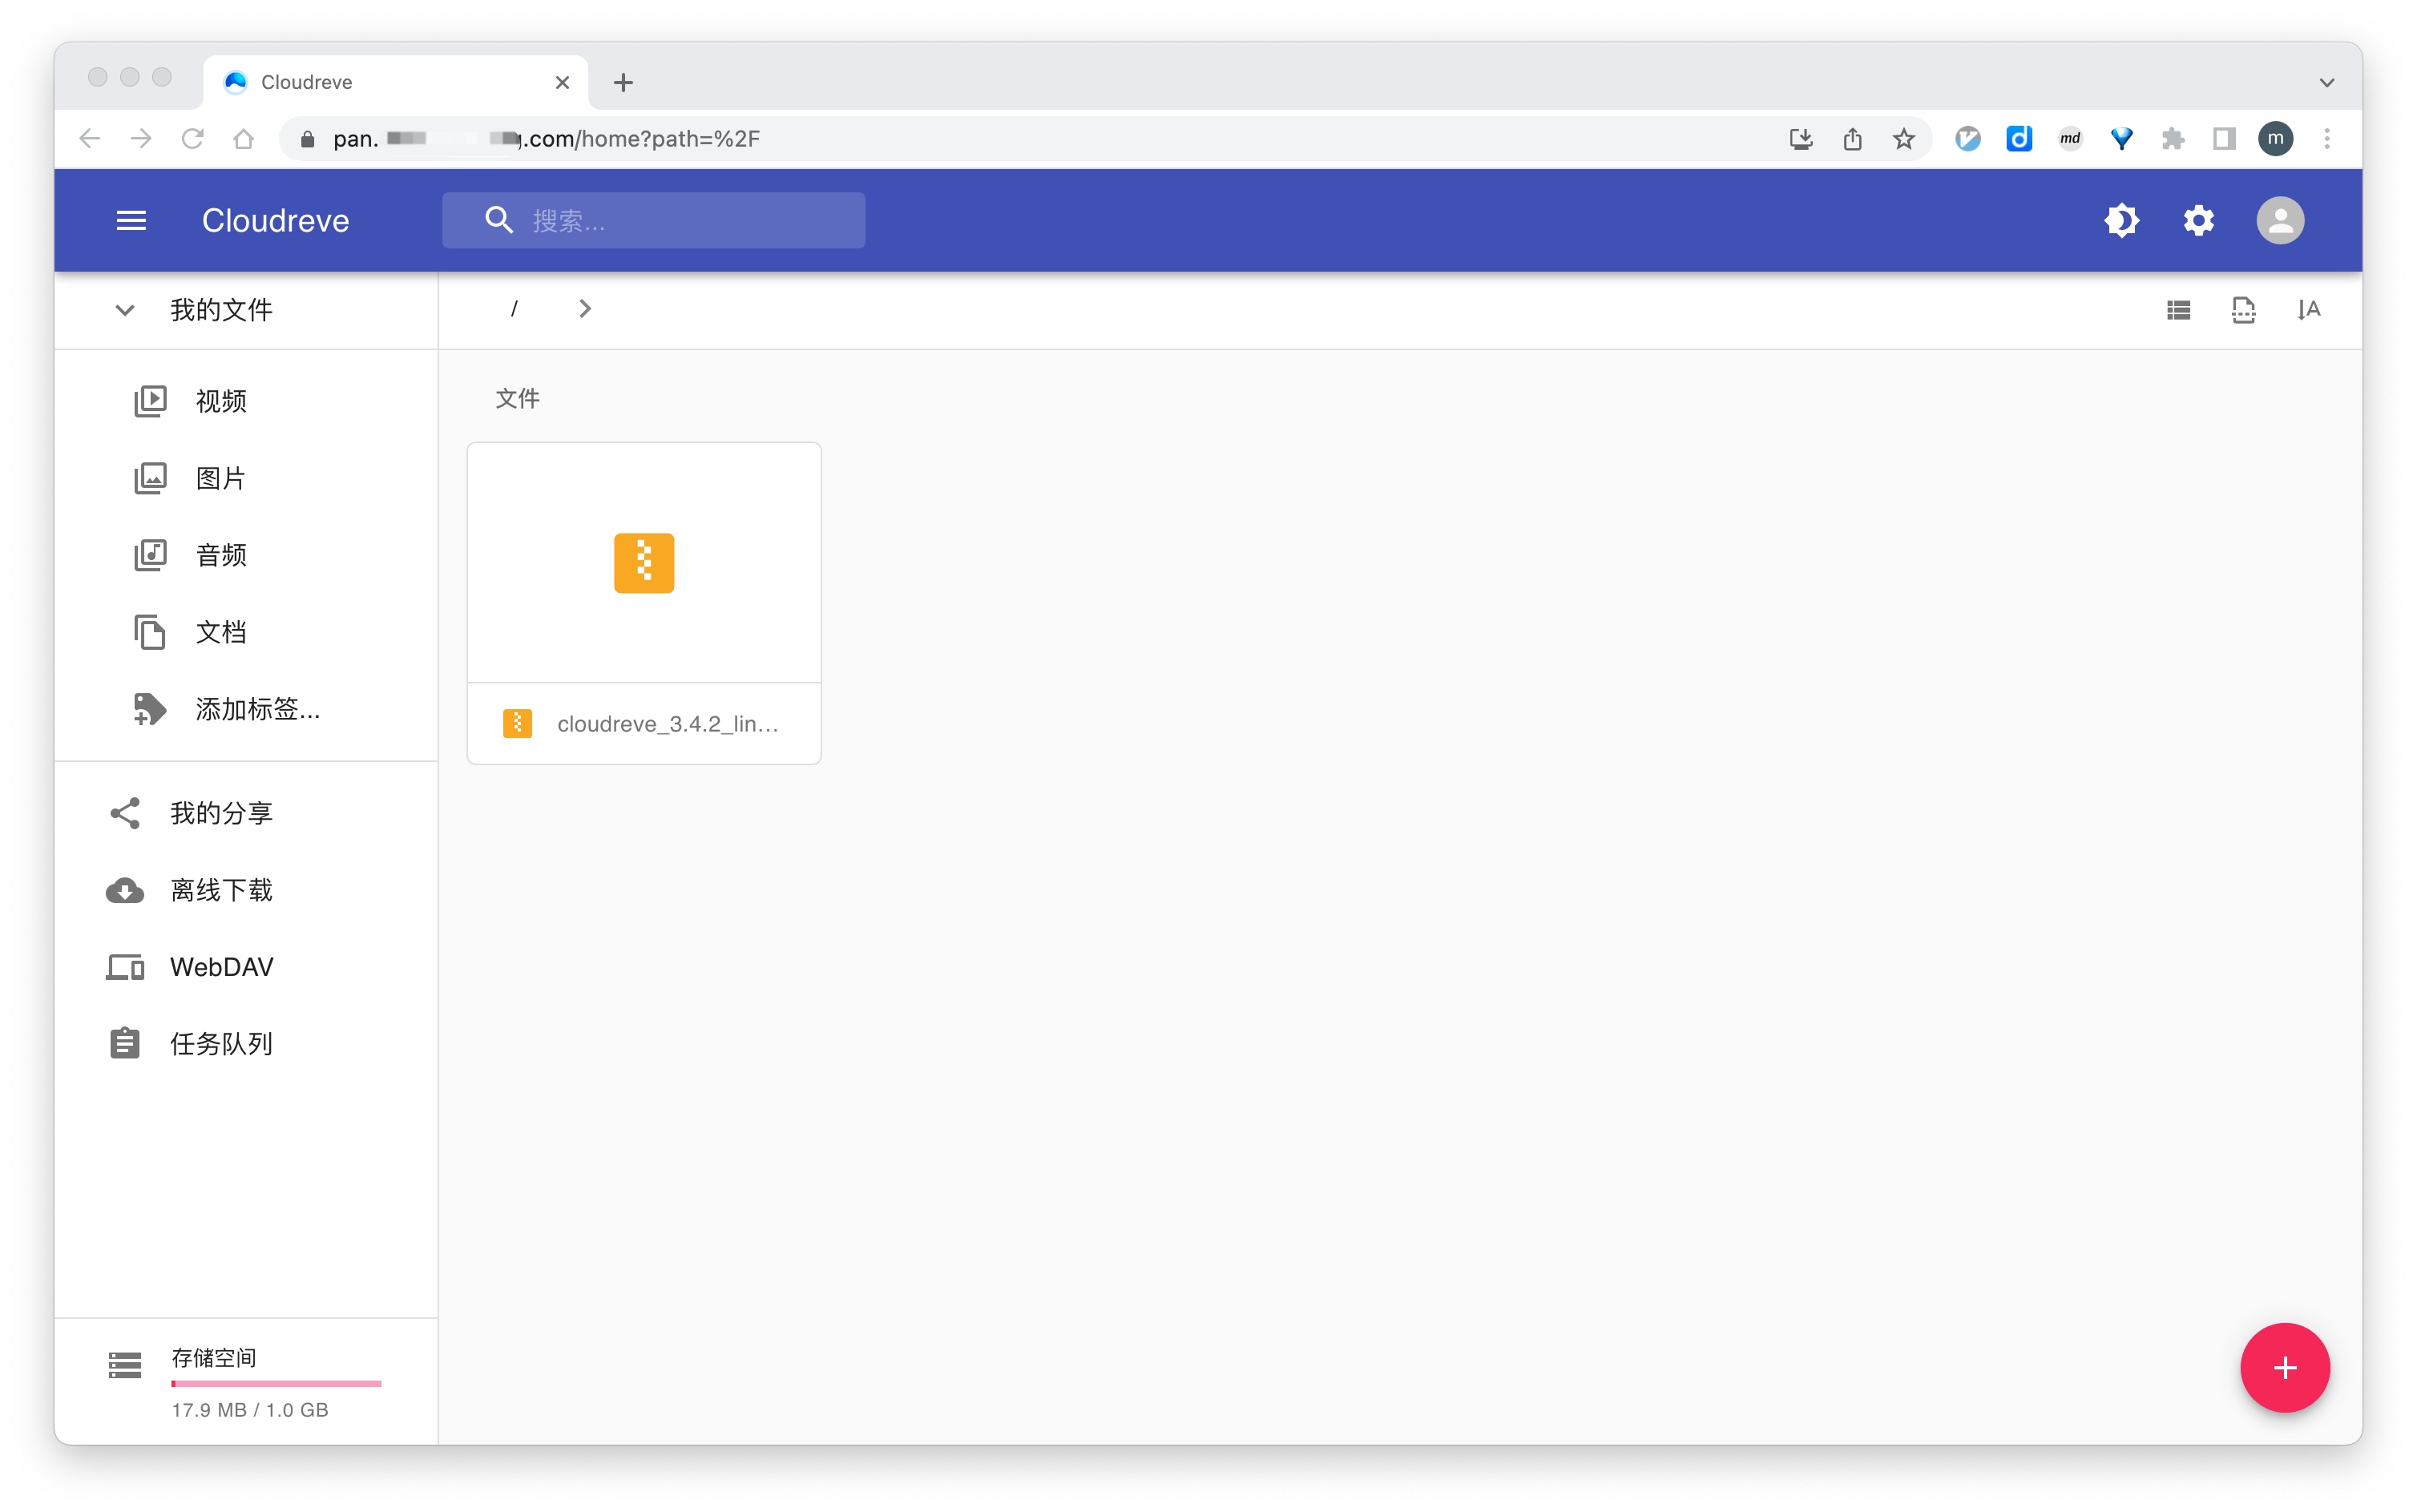
先看完成后的效果。可通过域名访问,并支持 HTTPS,还不错吧!
本文就略去如何安装 Cloudreve、如何安装 frp、树莓派如何挂载外接移动硬盘等内容,因为网上能找到很多详细资料。本文只说一下几个重要的配置。
域名配置 首先,新加一个二级域名pan.mydomain.com,解析记录如下:
这里用新的独立二级域名主要是为了方便在 Nginx 做反向代理配置。
反向代理 公网上云服务器的 Nginx 反向代理配置如下:
1
2
3
4
5
6
7
8
9
10
11
12
13
14
15
16
17
18
19
20
21
22
23
24
25
26
27
28
29
30
31
32
33
34
35
server { server_name pan.mydomain.com root /usr/share/nginx/html include /etc/nginx/default.d/*.conf client_max_body_size 1024m location / { proxy_pass http://localhost:8098 proxy_set_header Host $host:80 proxy_set_header X-Real-IP $remote_addr proxy_set_header X-Forwarded-For $proxy_add_x_forwarded_for proxy_set_header Upgrade $http_upgrade proxy_set_header Connection "upgrade" proxy_connect_timeout 7d proxy_send_timeout 7d proxy_read_timeout 7d } listen [::] :443 ssl listen 443 ssl ssl_certificate /etc/letsencrypt/live/pan.mydomain.com/fullchain.pem ssl_certificate_key /etc/letsencrypt/live/pan.mydomain.com/privkey.pem include /etc/letsencrypt/options-ssl-nginx.conf ssl_dhparam /etc/letsencrypt/ssl-dhparams.pem }
注意,限于篇幅这里略去了静态资源的缓存策略配置。不过,这些配置其实是由 cerbot 生成的,我们只需要在生成的基础上稍作修改即可。
提示:
使用 cerbot 一键配置 HTTPS 证书
修改配置后一定记得要重启 Nginx
1 2 3 4 sudo certbot --nginx -d pan.mydomain.com systemctl restart nginx
树莓派 Nginx 配置如下:
1
2
3
4
5
6
7
8
9
10
11
12
13
14
15
16
17
18
19
20
21
22
server { listen 80 listen [::] :80 server_name pan.mydomain.com root /var/www/html index index.html index.htm index.nginx-debian.html location / { proxy_set_header X-Forwarded-For $proxy_add_x_forwarded_for proxy_set_header Host $http_host proxy_redirect off // 1. 注意这里的5212端口为Cloudreve服务的端口 proxy_pass http://127.0.0.1:5212 } }
注意,其实 frp 可以配置成穿透到 Cloudreve 服务的 5212 端口,所以树莓派上 Nginx 反向代理配置不是必须的。
frp 配置 云服务器上的 frps.ini 配置非常简单。内容如下:
1
2
3
4
5
6
7
[common] bind_port = 6999 vhost_http_port = 8098 dashboard_port = 8099 dashboard_user = a_userdashboard_pwd = a_pwdprivilege_token = a_token
运行 frps -c frps.ini 来启动 frp 服务器端。
树莓派上的 frpc.ini 配置如下:
1
2
3
4
5
6
7
8
9
10
11
12
13
14
[common] server_addr = <server_ip>server_port = 6999 privilege_token = a_tokenlogin_fail_exit = false [pan] type = httplocal_ip = 127.0 .0.1 local_port = 80 custom_domains = pan.mydomain.com
运行 frpc -c frpc.ini 来启动 frp 客户端。
小结 感觉配置有些复杂?其实一点也不复杂,听我慢慢解释。
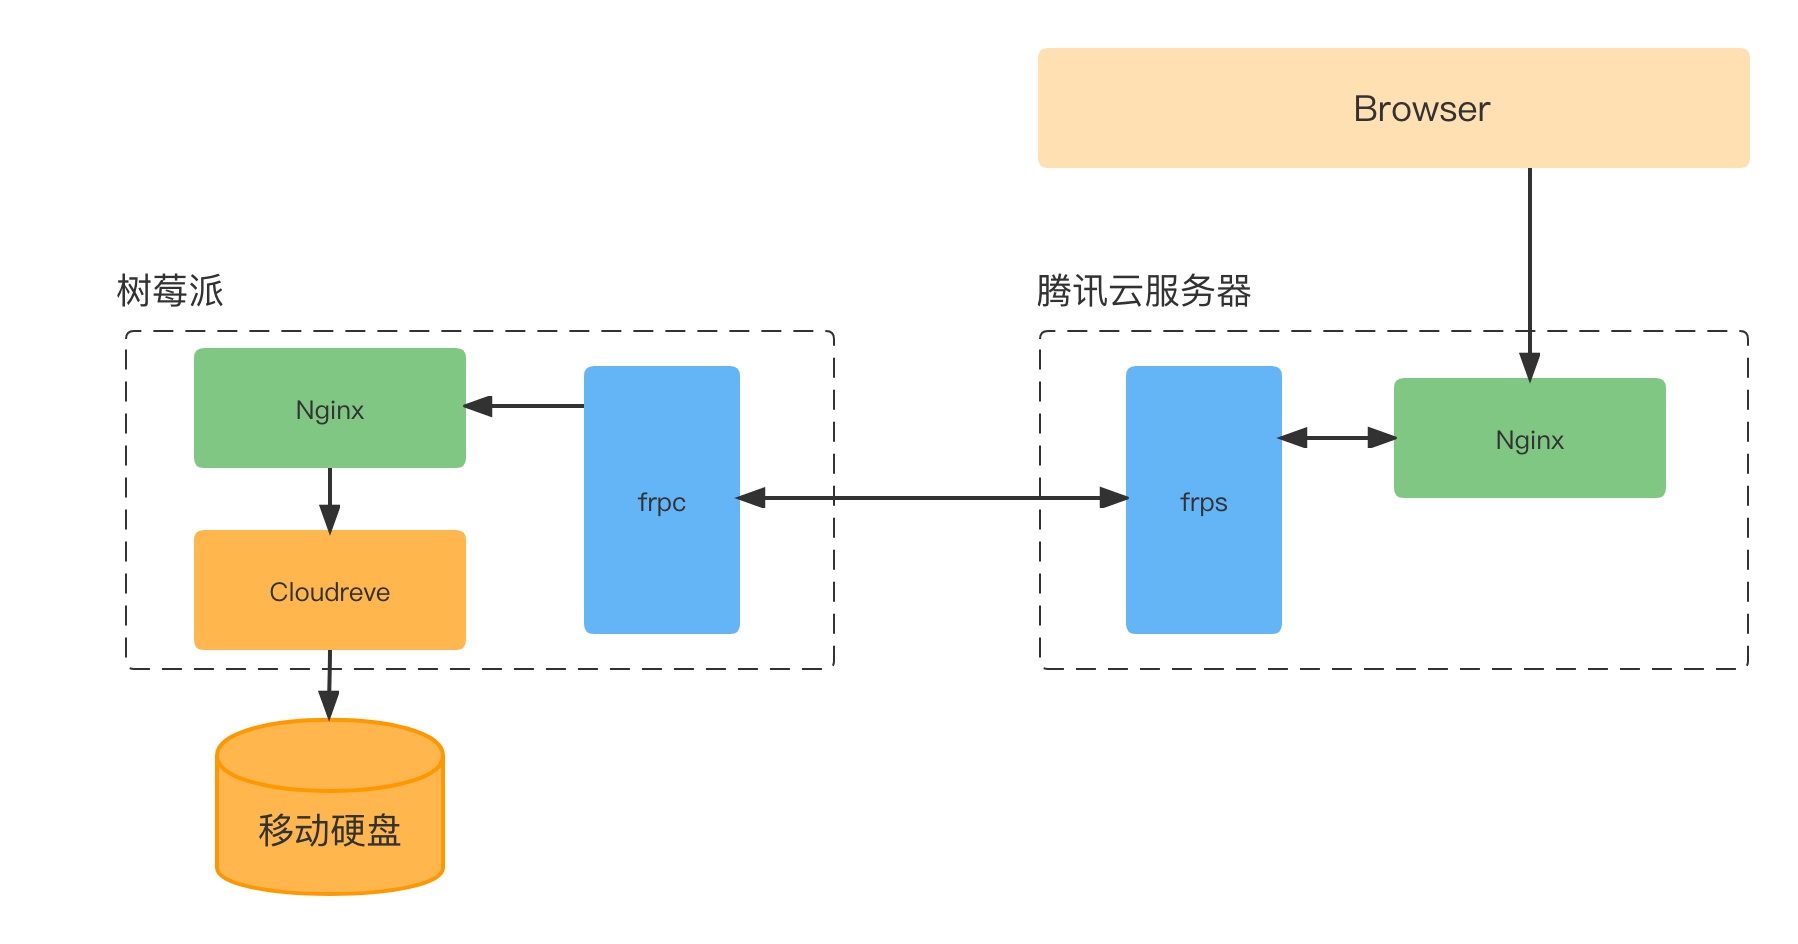
首先,整个链路是这样的:
1
2
3
Disk <----> Cloudreve <----> Pi(Nginx) <----> Frp <----> QCloud(Nginx) <----> Browser
大致访问过程如下:
用户在浏览器中访问pan.mydomain.com
(云服务器)Nginx反向代理将上述流量转发到当前服务器的8098端口
触发frps(公网服务器)和frpc(树莓派)的互动,流量继续转发到树莓派的80端口(为啥是80?可以回头看nginx配置)
(树莓派)Nginx反向代理将上述流量转发到5212端口
Done!(树莓派)Cloudreve云盘正在监听5212端口!
排错(更新于2023年中)
正常使用这个私有云盘几个月后,有天忽然发现上传文件时会报 HTTP 500 错误,百思不得其解。尝试重启腾讯云服务器和树莓派上的 nginx 服务器,问题均未解决。
Google搜索一番,发现有人提到可能是磁盘空间不足。df -h 后发现腾讯云服务器上40G的硬盘空间被占满了。占用硬盘最多的是 /var/lib/docker/overlay2/目录。于是清理了一下临时数据:
1
2
3
4
5
6
7
8
9
10
11
12
13
14
15
16
17
18
19
20
21
22
23
24
25
[root@VM-16-15-centos ~]# docker system prune --help Usage: docker system prune [OPTIONS] Remove unused data Options: -a, --all Remove all unused images not just dangling ones --filter filter Provide filter values (e.g. 'label=<key>=<value>') -f, --force Do not prompt for confirmation --volumes Prune volumes [root@VM-16-15-centos ~]# docker system prune -a WARNING! This will remove: - all stopped containers - all networks not used by at least one container - all images without at least one container associated to them - all build cache Are you sure you want to continue? [y/N] y Deleted Containers: ef49404cea23de7ca9408515ca5bc2299e4dc5ac42fafcf69ac2878ecf5d52a0 deleted: sha256:af7ed92504ae4c20128a0f01048d41d467fef5c795c38d0defdb998a187ed1d4 Total reclaimed space: 3.895GB
腾出一些硬盘空间后,问题不复存在!
让服务器访问外网 云服务器上安装软件有时需要能连上 Google 等网站。但平常也不太可能在服务器上挂个 VPN,再说有些 VPN 提供商并未提供 Linux 版本客户端。如何解决这个问题?
其实也可以用 frp 来搞定,只要你本地电脑能正常连上 Google 的话。
第一步,确保你本地电脑可正常访问外网。
第二步,本地开启一个 HTTP 代理服务。我们可以借助 whistle、charles 等抓包工具来完成这一步。以 whistle 为例,它本质上就是一个代理,默认端口号 8899。
第三步,云服务器上开启 frps 服务。使用上一节中相同的 frps.ini 配置即可。
1
2
3
4
5
6
7
[common] bind_port = 6999 vhost_http_port = 8098 dashboard_port = 8099 dashboard_user = a_userdashboard_pwd = a_pwdprivilege_token = a_token
第四步,本地开启 frpc 服务。注意,frpc.ini 中我们新增了一个 http proxy 配置。
1
2
3
4
5
6
7
8
9
10
11
[common] server_addr = YOUR_SERVER_IP server_port = 6999 privilege_token = a_token login_fail_exit = false [http proxy] type = tcp local_ip = 127.0.0.1 local_port = 8899 remote_port = 9527
第五步,云服务器上使用 HTTP 代理上网。以 curl 为例,使用 --proxy 参数配置代理。
1
2
3
4
5
6
7
8
# 未走代理,无法访问外网 [root@VM-16-15-centos ~]# curl -I google.com -m 5 curl: (28) Connection timed out after 5001 milliseconds # 走代理,可访问外网 [root@VM-16-15-centos ~]# curl -I google.com -m 5 --proxy localhost:9527 HTTP/1.1 301 Moved Permanently Location: http://www.google.com/ Content-Type: text/html; charset=UTF-8
常用应用场景的代理设置方法:
终端:设置环境变量 http_proxy 和 https_proxy
1
2
export http_proxy=http://192.168.1.*:* export https_proxy=http://192.168.1.*:*
curl:加上 --proxy 192.168.1.*:* 参数
CMake:使用终端的环境变量或者在 CMakeLists.txt 添加相应配置
1
2
3
# CMakeLists.txt set(ENV{http_proxy} "http://127.0.0.1:10809") set(ENV{https_proxy} "http://127.0.0.1:10809")
参考